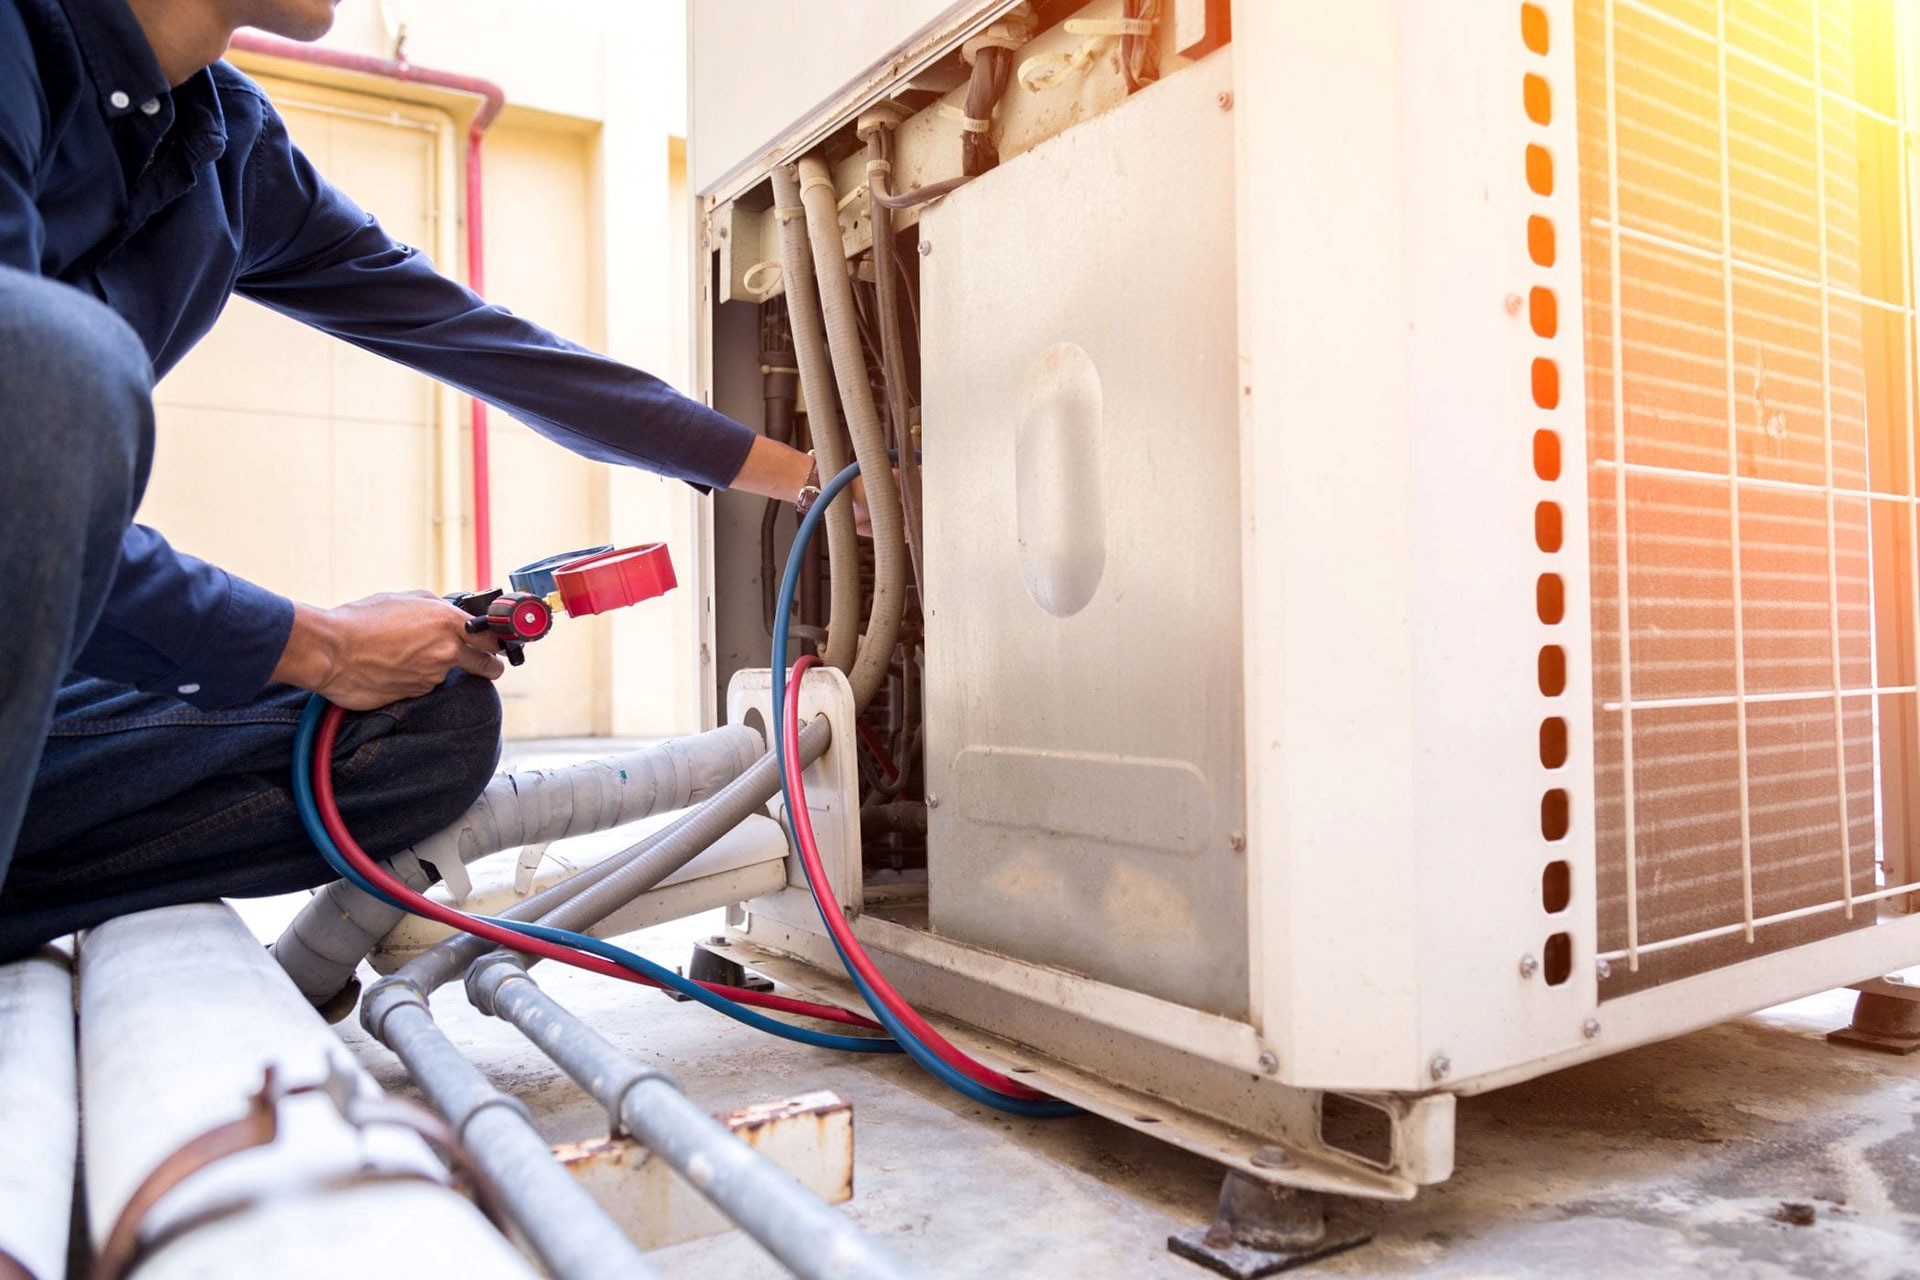
When your air conditioner stops working on a hot summer day, the first thought is often to call in a professional for air conditioning repair in Toronto. But before you do, you can try a few steps on your own at home to troubleshoot and possibly resolve common AC issues.

In this guide, we will walk you through some basic AC repair tips that can save you time and money. However, always keep in mind that some issues require a professional touch, so don’t hesitate to contact TAM Mechanical for reliable AC repair in Toronto if needed.
One of the simplest things to check when your AC isn’t working is the thermostat. Sometimes, a thermostat can get accidentally switched to the wrong setting. Here’s what to look for:
If the thermostat still doesn’t seem to be the issue, move on to the next step.
Air conditioners require a significant amount of power to function, and sometimes, a tripped circuit breaker can be the culprit. Here’s what to do:
If everything is powered correctly and the AC still isn’t running, it’s time to look at other components.
A clogged air filter can cause your AC to work harder than necessary, leading to overheating and poor performance. Cleaning or replacing the filter can make a noticeable difference in your AC’s function:
Changing or cleaning your air filter every 1-3 months is a good rule of thumb to keep your AC running efficiently.
Your AC’s condenser coils are located in the outdoor unit. These coils can become covered in dirt, dust, and debris, reducing your AC’s ability to cool the air effectively.
Keeping the coils clean is crucial for efficient cooling and can prevent the need for frequent AC repair in Toronto.
The outdoor unit of your AC needs space for proper airflow. If it’s surrounded by dirt, leaves, or other debris, it can’t perform efficiently.
Regularly clearing the area around your AC can help reduce wear and tear and keep it running smoothly.
Low refrigerant is a common cause of AC problems, but handling refrigerant requires a licensed technician. However, you can check for signs of a refrigerant leak:
If you suspect a refrigerant issue, contact TAM Mechanical for professional air conditioning repair in Toronto. Trying to fix refrigerant problems on your own can be dangerous.
Your AC has a condensate drain line that removes moisture. If it becomes blocked, water can back up, causing potential water damage and affecting the AC’s performance. Ever had your AC unit spit water inside? Chances are the drainpipe is clogged up.
Keeping the drain line clean helps prevent musty smells and keeps your AC functioning properly.
After checking and cleaning these components, turn on your AC to see if it’s functioning better. Give it a few minutes to start cooling the room. If it’s still not cooling effectively, it may be time to bring in an expert.
While these steps can help resolve some common AC issues, certain problems require professional expertise. TAM Mechanical offers trusted AC repair in Toronto, and our experienced technicians can handle more complex issues like refrigerant leaks, electrical problems, and compressor malfunctions. Our team provides prompt, reliable service so you can stay comfortable all summer long.
Taking a few steps to troubleshoot your AC can help you avoid unnecessary service calls and keep your system in good shape. However, if the problem persists, don’t hesitate to reach out to TAM Mechanical for professional air conditioning repair in Toronto. We’re here to ensure your home stays cool and comfortable when you need it most.